Garrattfan's Modelrailroading Pages
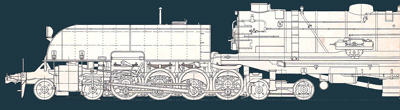
AD60
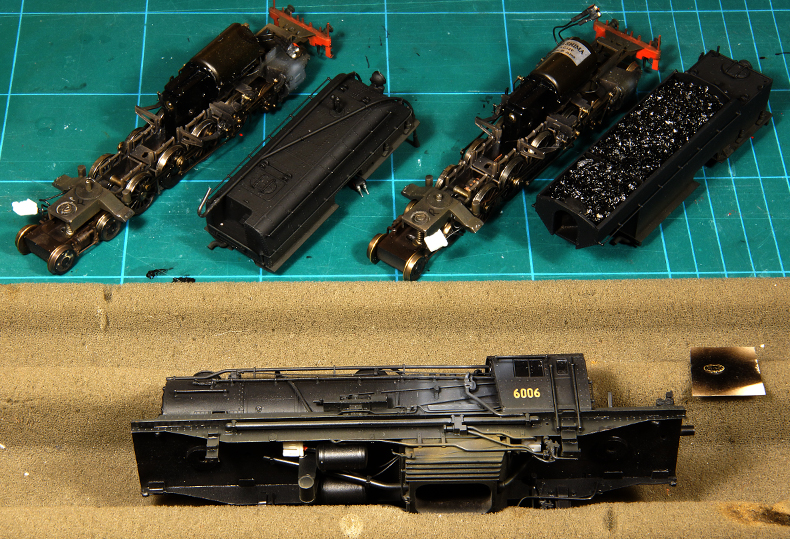
8.2 Final assembly
| After all this work the final assembly is stunningly simple | |
 |
|
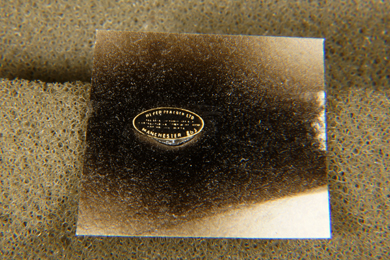 |
Although strictly speaking mounting the builder's plate is a normal construction step I always ceremoniously rank it under the final assembly, like christening a ship with a bottle of champaign.
The letters are revealed by carefully sanding the black plate with grain 1200 emery paper. Gentle! |
And then it is mounted to the left side I went through considerable trouble to determine wether the builder's plate was on the left or on the right side. The evidence I browsed was inconclusive so following no 6029 I mounted it on the left side.
|
|
|
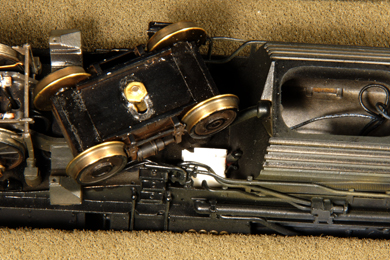
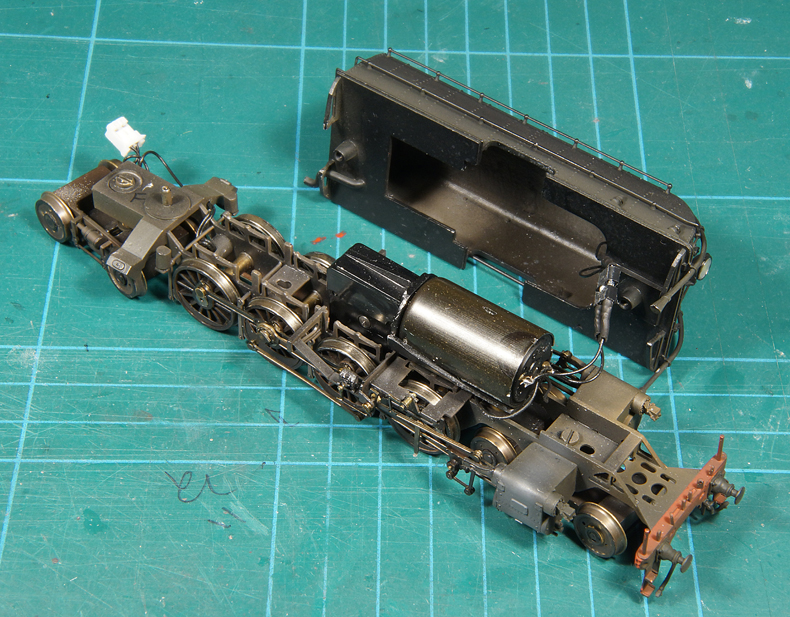
Assembly of the front unit starts with connecting the LED front light. Remember the chassis of the front unit has a long bearing pin (part 203). The wiring can be nicely tucked away in the space in the front of the tank. The superstructure is mounted on the chassis by two bolts, the corresponding holes of which can be seen in the underside of the tank. Access to the most forward bolt is obscured by the leading bogie, so make sure haven't secured this bogie's nut with CA (see my remark). After remounting the bogie you can secure the nut.
|
|
Done! |
|
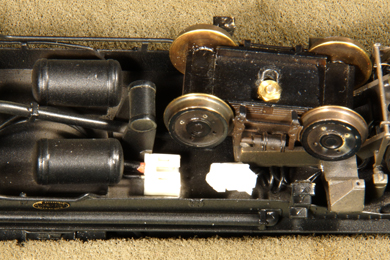
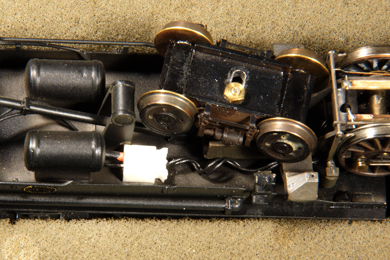
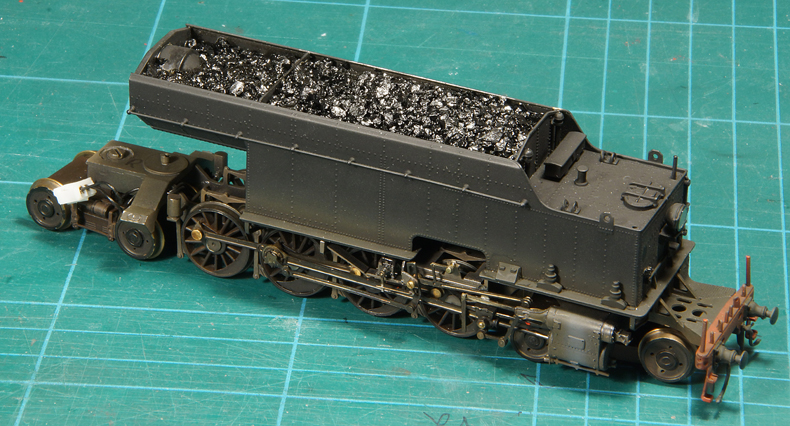
Likewise the rear unit's superstructure is joined to its chassis. Remember the chassis of the rear unit has a short bearing pin (part 203A)
|
|
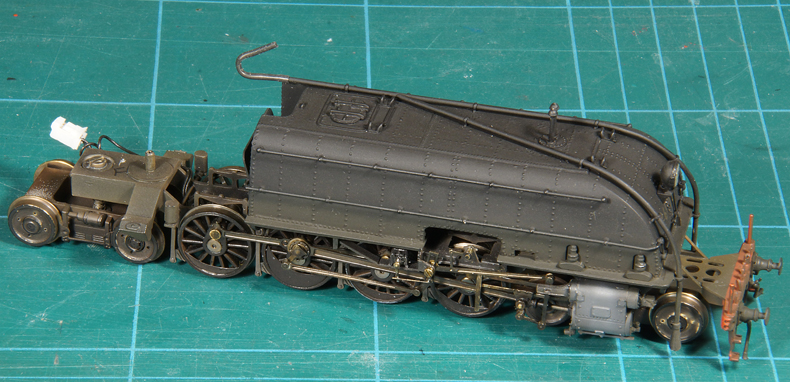
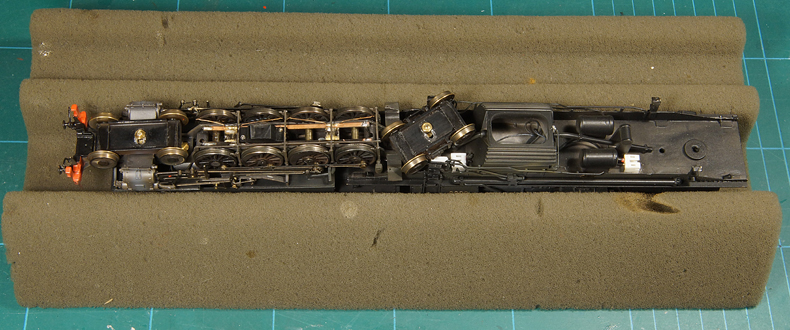
The loco is now down to three parts. |
|
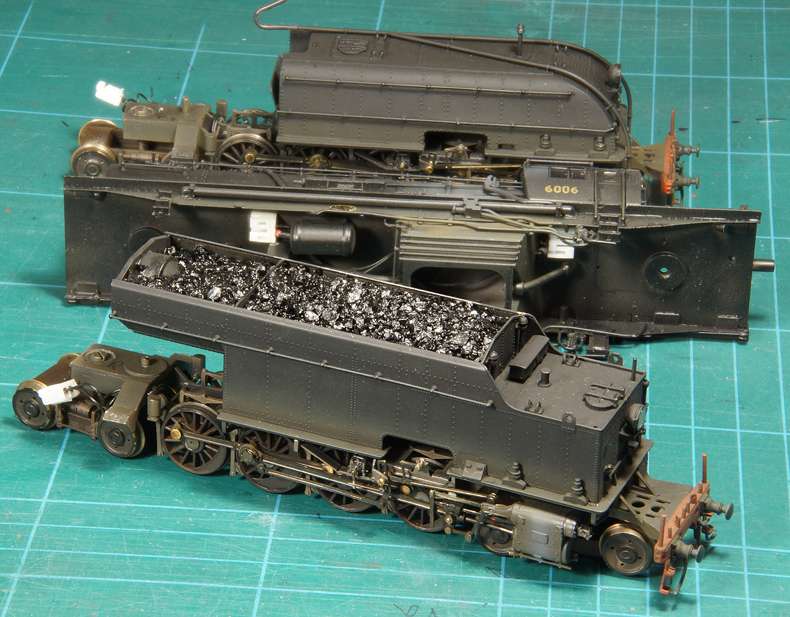
To join these three the loco is laid upside down. There is not enough room under the bunker of the rear unit to slide the rear unit's short bearing pin into the bearing hole in the boiler cradle. The solution is loosen up the rear bolt joining the chassis with the superstructure and so create a little play. After the bearing pin is in place tighten the rear bolt again.
|
|
 |
 |
The electric connectors is ... errrm...., well ..... connected. |
|
 |
 |
The front unit follows suit, without the trouble of the bearing pin by the way. |
|
 |
|
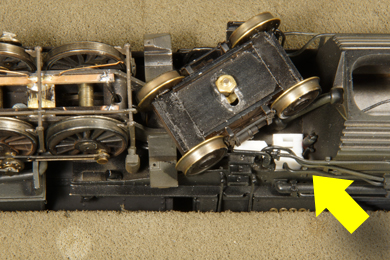
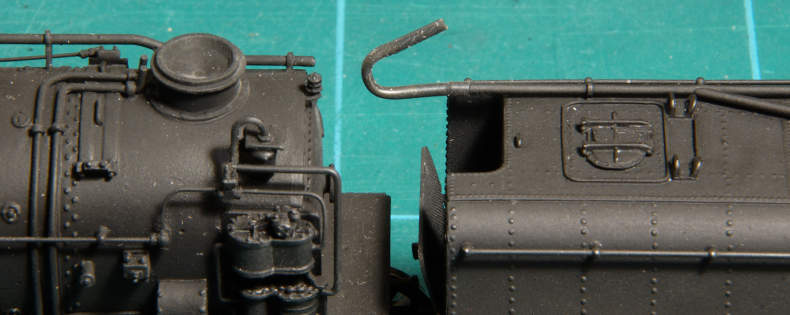
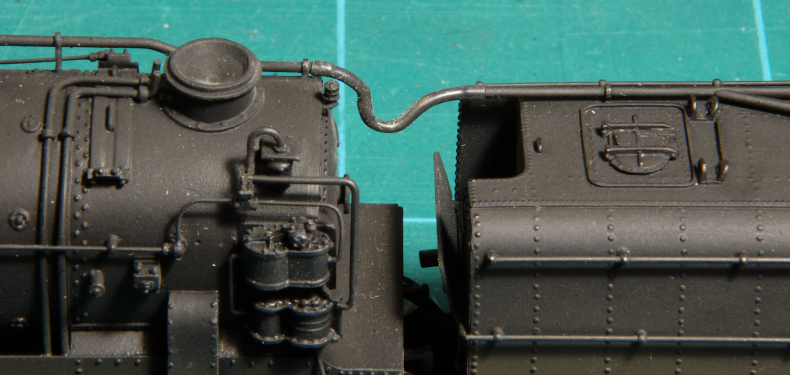
The very, very last step is making the sound pipe connection between the front unit and the boiler. |
|


Sign my
GuestBook